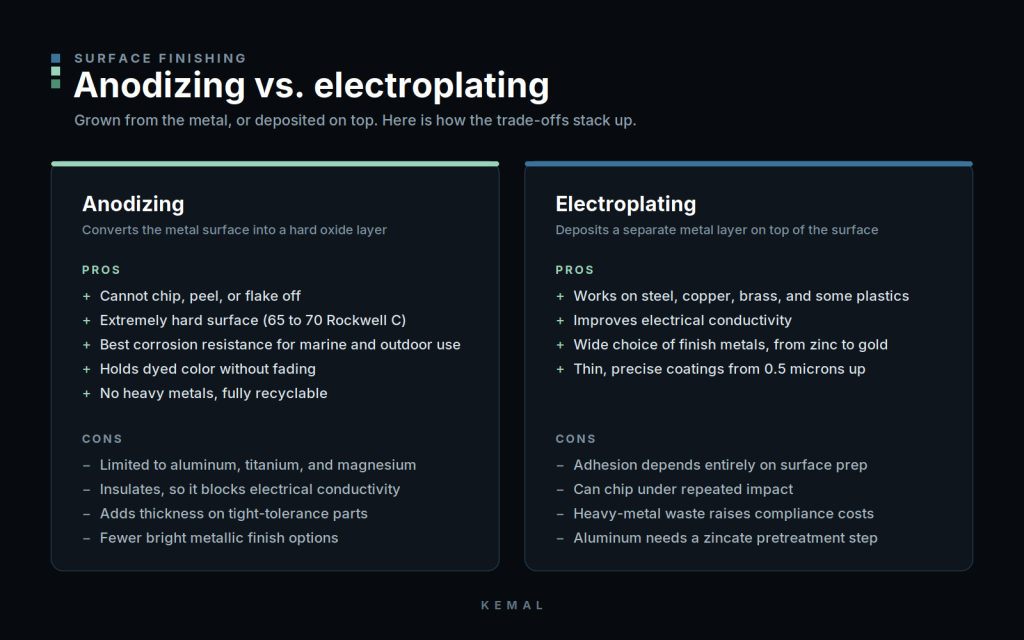
Rapid prototyping plays a critical role in product development. It allows you to validate designs, reduce errors before mass production, and accelerate time-to-market. But the cost can vary significantly—ranging from simple 3D-printed prototypes to complex, multi-part assemblies with advanced materials.
Understanding what drives these costs helps you plan budgets more accurately and choose the right prototyping method for your needs. In this article, you’ll see how costs break down, which factors influence them the most, and what steps you can take to control expenses without compromising quality or speed.

What Makes Up the Cost of Rapid Prototyping?
The cost of rapid prototyping depends on a range of factors, each influencing your final budget differently. Understanding them helps you make smarter choices before production begins.
1. Materials Drive the Baseline Cost
Your material choice often sets the floor for prototype expenses. A simple ABS plastic prototype might only cost a few hundred dollars, while switching to aerospace-grade aluminum or high-performance composites can easily double or triple the budget. It’s not just raw material prices—some materials demand special equipment or handling, adding hidden costs.
2. Manufacturing Process Shapes the Price Curve
FDM printing, SLA resin printing, CNC machining, and vacuum casting all carry different cost structures. For example, FDM is cheap and fast for early concept models but lacks the precision of SLA or CNC. CNC machining offers tight tolerances and strong materials, but setup and machining time make it more expensive, especially for one-off parts.
3. Design Complexity Adds Engineering Hours
A part with simple geometry prints fast and with minimal support. Add internal channels, tight tolerances, or intricate details, and suddenly you need extra design checks, more iterations, and slower manufacturing speeds. Some companies now run designs through automated DFM tools before production to flag cost-driving features early.
4. Labor and Finishing Still Matter
Support removal, sanding, painting, or assembling multiple parts all add labor hours. Automated post-processing systems help, but finishing work still accounts for a significant portion of total cost, especially for prototypes that need a polished, presentation-ready look.
5. Logistics and Delivery Can Surprise You
A large, fragile prototype shipped overseas may cost as much to transport as it does to produce. Many companies now work with regional suppliers or distributed production networks to cut shipping time and cost, especially for early design iterations.
6. Digital Tools Change the Cost Equation
Modern quoting platforms and AI-driven optimization tools give you real-time cost feedback before production. They highlight expensive materials, complex geometries, or time-consuming finishes so you can adjust early rather than pay for surprises later.
When you break the budget into these components, you start to see where cost-saving opportunities lie—whether it’s in simplifying designs, choosing the right process, or rethinking your supply chain.
Cost by Prototyping Method: 3D Printing vs. CNC vs. Others
Different prototyping methods come with different cost structures, precision levels, and lead times. The table below summarizes typical ranges based on current 2025 market data:
| Prototyping Method | Typical Cost per Part* | Accuracy / Tolerance | Typical Applications | Production Speed |
| FDM (3D Printing) | $50–$300 | ±0.3–0.5 mm | Concept models, low-cost prototypes | Fast for simple parts |
| SLA (3D Printing) | $100–$800 | ±0.1–0.2 mm | High-detail prototypes, dental, medical | Moderate |
| SLS (3D Printing) | $200–$1,000 | ±0.1–0.2 mm | Functional parts, complex geometries | Medium–High |
| CNC Machining | $300–$2,500 | ±0.05–0.1 mm | Metal prototypes, functional testing parts | Slower for complex shapes |
| Vacuum / Urethane Casting | $500–$3,000 (per mold setup) | ±0.2–0.3 mm | Small-batch production, product housings | Moderate–High |
*Costs vary based on part size, material, complexity, and production location.
Key insights for 2025:
- FDM remains the most cost-effective for early design iterations. Its affordability makes it ideal for testing form and fit before investing in higher-end processes.
- For projects that demand fine detail or limited functional parts, SLA and SLS offer the sweet spot between precision and usability. SLA delivers smooth surfaces for visual models, while SLS handles complex geometries for small-batch functional testing..
- CNC machining is essential when metal strength or tight tolerances are required. Metal prototypes or load-bearing components often justify their higher upfront cost because of the accuracy and material performance they deliver.
- Vacuum casting becomes cost-efficient when producing multiple identical parts after the initial mold investment. It becomes a cost-effective solution for producing multiple identical parts, especially for product housings or pilot runs.
Key Factors That Affect Your Prototyping Budget
The total cost of a prototype depends on more than just the manufacturing method. These variables often have the biggest impact:
Design Complexity
Part geometry has a direct correlation with cost. For example, a simple ABS bracket might be printed via FDM for under $200, but adding internal channels or ±0.05 mm tolerances could require CNC machining, pushing costs into the $1,500–$2,000 range. Using design-for-manufacturability (DFM) principles early can cut complexity-driven costs by 15–25%.
Material Selection
Commodity plastics like PLA or ABS remain under $5/kg, while carbon-fiber-reinforced polymers or PEEK exceed $50/kg. Metals such as titanium can cost 5–10× more than aluminum and require slower machining speeds, driving both material and labor expenses higher. Choosing materials that balance performance with processability avoids overengineering costs.
Quantity and Batch Size
The cost per part drops sharply with higher volumes—but only after certain thresholds. One-off parts are cheaper via SLA/SLS, but once you need 20–30 identical pieces, vacuum casting’s mold investment (~$2,000–$3,000) pays for itself, cutting per-part costs by 50–70%.
Post-Processing and Surface Finish
A basic prototype might ship as-printed, but high-gloss painting or tight cosmetic standards add $50–$200 per part. Automated finishing can reduce labor time by 30%, so choosing compatible materials and surface requirements upfront saves cost.
Production Location and Supply Chain
Local production offers shorter lead times but may carry higher labor costs. Overseas suppliers often provide lower prices but require longer shipping times and higher logistics coordination. Distributed manufacturing networks are helping balance both cost and delivery speed.
Lead Time Requirements
Standard lead times often fall in the 5–10 day window. Cutting delivery to 48 hours typically adds a 40–60% premium due to overtime labor and priority scheduling. Planning prototype stages early avoids paying for unnecessary rush fees.
Understanding how these variables interact lets you adjust design scope, material choice, and production schedules before committing to costly decisions.
How to Control Rapid Prototyping Costs Without Sacrificing Quality
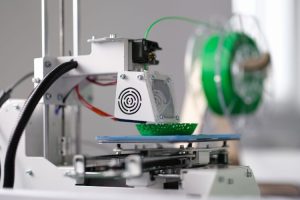
Reducing costs doesn’t have to mean lowering part quality or extending lead times. In 2025, smarter design tools, advanced manufacturing methods, and better supplier networks make it possible to control budgets effectively. Here’s how you can approach it:
1. Optimize Your Design Before Production
Unnecessary complexity drives costs up. Use AI-assisted design validation tools to simplify geometries, reduce overhangs, and minimize support structures before production. Even small changes in wall thickness or part orientation can cut material usage by 10–20%.
2. Match the Process to Your Needs
Not every prototype requires aerospace-level tolerances or premium materials. For visual models, FDM or SLA might be enough. For functional testing, SLS or CNC machining may be worth the extra expense. Choosing the right process based on accuracy, strength, and budget prevents over-engineering.
3. Plan for Batch Efficiency
If you need multiple parts, consolidate orders to lower the per-part cost. Processes like vacuum casting or low-volume injection molding become cost-effective when producing 20–100 units, compared to repeating single 3D prints.
4. Use Online Quoting and Distributed Manufacturing
Instant quoting platforms and distributed production networks introduced in 2025 let you compare suppliers, lead times, and pricing in real time. You can manufacture parts closer to the end-use location, cutting both shipping costs and delivery times.
5. Consider Hybrid Prototyping Strategies
Some companies now combine methods: 3D printing for low-cost initial iterations, CNC machining for final functional parts, and casting for small production runs. This staged approach balances cost control with quality assurance.
By planning ahead and using the right tools, you can often cut prototype expenses by 20–30% without compromising the part’s performance or appearance.
Cost vs. ROI: Is Rapid Prototyping Worth the Investment?
At first glance, rapid prototyping can seem expensive, especially when functional materials or advanced manufacturing methods are involved. But the return on investment (ROI) often becomes clear when you consider the broader product development cycle:
1. Faster Time-to-Market
Each design iteration costs money, but every delay costs more. Prototyping allows you to identify design flaws early, preventing expensive tooling changes and production halts later. Companies using rapid prototyping have reported time-to-market reductions of 30–50%, translating into faster revenue generation.
2. Reduced Design Rework
A single design error discovered after tooling can cost tens of thousands of dollars. Functional prototypes reveal usability, assembly, and performance issues before mass production begins, saving both time and money.
3. Improved Stakeholder Communication
Physical prototypes make design reviews, customer demonstrations, and investor presentations more convincing. Visual and functional clarity helps secure approvals and funding faster than CAD models alone.
4. Data-Driven Cost Control
By validating materials, tolerances, and manufacturing processes early, companies avoid over-engineering and unnecessary expenses in the final product. Prototyping provides real-world data that guides smarter production decisions.
5. Long-Term Savings
Even when upfront costs are higher, the reduction in rework, tooling changes, and market delays often offsets the initial investment many times over.
In short, the ROI of rapid prototyping comes from fewer mistakes, shorter timelines, and more confident product launches, all of which directly impact profitability.
2025 Trends Impacting Prototyping Costs
1. Automated and Unmanned Production
In 2025, more prototyping facilities are moving toward automated print farms and unmanned CNC cells. Robotic part removal, automated resin handling, and in-line inspection reduce labor costs and allow 24/7 production. As a result, per-part costs for small and mid-volume prototypes are decreasing compared to manual operations.
2. AI-Driven Design and Intelligent Slicing
Generative design tools now help engineers optimize part geometry for minimal material use while maintaining strength. AI-assisted slicing software automatically adjusts print orientation, layer thickness, and support structures to balance cost, speed, and surface quality—cutting material waste and processing time.
3. New Low-Cost, High-Performance Materials
The introduction of carbon-fiber-reinforced filaments, bio-based polymers, and high-temperature resins offers cost-efficient options for functional prototypes. These materials deliver the strength and heat resistance needed for aerospace or automotive applications while reducing the reliance on expensive metals or legacy plastics.
4. Distributed and Localized Manufacturing
With more distributed manufacturing networks, companies can print parts closer to end-use locations. This reduces shipping costs, lead times, and environmental impact. Localized production also allows for easier iteration cycles, as prototypes can be delivered within days rather than weeks.
Together, these trends mean faster, smarter, and more cost-efficient prototyping workflows—giving companies more control over budgets and timelines.
Conclusion
The cost of rapid prototyping depends on multiple factors—manufacturing method, material selection, design complexity, batch size, and delivery speed. Understanding how these elements interact helps you plan budgets more accurately and avoid unnecessary expenses.
Before starting your next project, evaluate your functional requirements, timeline, and budget constraints. Then match them to the most suitable prototyping process and supplier. If you need precise cost estimates, consider using online quoting platforms or consulting with manufacturing partners to get tailored recommendations.
Ready to explore the best options for your project? Learn about our rapid prototyping services and get expert guidance on reducing costs while meeting your quality and lead time requirements.
FAQs
Which rapid prototyping method offers the lowest cost for functional parts?
If you only need a few functional prototypes and cost is your main concern, FDM 3D printing is usually the starting point. The equipment is affordable, materials like PLA and ABS are low-cost, and you can get parts ready for basic fit or function testing within days.
But if your parts need better strength and accuracy—say, for mechanical testing or end-use applications—SLS printing often becomes more cost-effective despite a higher per-part price. It doesn’t require support structures and delivers stronger parts in a single run, saving time and rework costs down the line.
When you need metal prototypes or tight tolerances, CNC machining comes in. The upfront cost is higher, but for functional metal parts or assemblies that require precision, CNC can prevent expensive redesigns later in the process.
And if you’re producing a small batch—maybe 20 to 50 identical parts—vacuum casting quickly reduces the per-part cost after the first mold investment, making it a practical choice for low-volume production before moving to full injection molding.
So, the lowest-cost option depends on where you are in development:
- Early testing: FDM keeps costs down.
- Stronger, functional plastics: SLS pays off over multiple runs.
- Metal or precision parts: CNC justifies the investment.
- Small-batch production: Vacuum casting spreads out initial mold costs effectively.
How does part complexity affect prototyping costs?
The more complex your part design, the more time, material, and setup work it takes to produce—so costs go up quickly. For example, a simple bracket with straight edges can be printed or machined in a single run with minimal support. But if you add internal channels, tight tolerances, or intricate surface details, the process changes dramatically.
Complex parts often require slower print speeds, additional supports, or multi-axis CNC machining. They also increase the risk of print failures or machining errors, which means more iterations and higher labor costs for post-processing. In some cases, complex designs demand specialized materials or secondary finishing steps to meet strength or surface requirements, both of which raise expenses further.
This is why many companies now use AI-assisted design tools before production. These tools flag cost drivers—like overhangs, deep cavities, or unnecessary surface details—so you can simplify the geometry without sacrificing functionality. The less work your machine and technicians need to do, the lower your total prototyping bill will be.
Can I get an accurate cost estimate before finalizing my design?
Yes, you can—and it’s becoming much easier in 2025. Many manufacturers and online platforms now offer instant quoting tools that analyze your 3D model in real time. These systems look at geometry, materials, tolerances, and finishing requirements, then give you a detailed cost breakdown before you commit to production.
For complex projects, some suppliers also provide DFM (Design for Manufacturability) reviews. Engineers check your design for potential cost drivers—like thin walls, unnecessary details, or difficult-to-machine features—and recommend changes that can cut expenses without affecting functionality.
This means you no longer need to wait until the first prototype is built to know the price. With upfront cost visibility, you can adjust your design early, avoid surprises, and plan your budget with confidence.
How can I reduce rapid prototyping costs without sacrificing quality?
Start with your design. Many unnecessary costs come from overly complex geometries, excessive material use, or tolerances far tighter than the part actually needs. Simplifying wall thicknesses, removing hidden details, and consolidating multiple components into single prints can immediately lower expenses.
Next, match the process to your requirements. Early prototypes for fit and form checks don’t need the same materials or accuracy as final functional parts. Using low-cost methods like FDM for initial iterations, then switching to SLA, SLS, or CNC for later stages, prevents overpaying early in development.
Batch planning also matters. If you need multiple identical parts, producing them together—whether through vacuum casting for small runs or optimized print layouts for 3D printing—reduces per-part cost significantly.
Finally, take advantage of online quoting tools and DFM reviews. Many platforms now analyze your design automatically, flagging cost drivers before production begins so you can fix them early rather than pay for redesigns later.
By combining smart design decisions, the right manufacturing method, and early cost visibility, companies often cut prototyping costs by 20–30% without sacrificing quality or lead time.
The key is to focus on design efficiency and process planning rather than cutting corners on materials or tolerances. In 2025, many companies start by using AI-driven design tools to simplify part geometry, remove unnecessary features, and reduce the amount of support material needed during printing or machining. A simpler design often translates directly into shorter production times and fewer finishing steps.
Choosing the right process for each stage of development also helps. For early testing, you can use low-cost methods like FDM or basic SLA to validate form and fit, then switch to SLS, CNC, or vacuum casting for functional prototypes or small-batch runs. This staged approach prevents you from overpaying for high-end methods before they’re necessary.
Finally, working with suppliers that offer instant quoting platforms or distributed manufacturing networks lets you compare prices and lead times in real time. This transparency helps you plan production schedules better, avoid rush fees, and keep overall costs under control while still meeting your quality targets.